How to Install Shingles on a Dog House
This shop has been compensated by Collective Bias, Inc. and its advertiser. All opinions are mine alone. #RoofedItMyself #CollectiveBias

Here in New Orleans Spring and Summer is hot in a major way, but we're crazy people, so we still tend to spend the most time outdoors these times of the year. Now, is the time that we're out eating our crawfish, having our BBQ's, and planting our flowers, veggies, and fruits. Having stylish patios and backyards are a MUST this time of year, because we're all about the "get-to-gether".
Now, because we have only been in our new house for about 2.5 months now, we have to prioritize the projects we take on. The kitchen was the first room to be done and even though I don't know how soon I'll be able to fully tackle our back patio, a dog house was one of those things that I felt was a big priority and a treat to our dogs.
You should know Pocahontas already, but remember a few months ago on Instagram, I told you guys that I had a new dog? Well, he's a Husky, named Rilo, and he is a handful!
They're both inside dogs, but Rilo loves to go outside to hang out on the porch and play in the grass. He also really likes to eat all my veggies, bite on all my outdoor furniture, and poop everywhere he thinks my foot will land. He literally gets it right every time, so I'm starting to think he was a psychic in his past life.
Since we've gotten Rilo, I've been wanting to build him a dog house and thought…
"why not just have a flat top roof for the garden to go on top?"
It seemed like a good idea, but I didn't want to just have a flat top dog house with greens growing from it. That didn't seem much doghouse-ish (I like to use "ish", obviously) to me. So, I had the idea to add a smaller room for Pocahontas with a shingled pitch roof. It's a big deal that the dog house is a bit stylish, too. It's a big structure sitting in the middle of our yard.
I partnered with GAF (check them out on Facebook) to build this duplex dog house using their shingles. I know what you're thinking! "Shingles? Girl, shingles are for contractors and manly men that like to do work around the house. That's hard to do!"
Nah. It was actually pretty easy and I'm gonna walk you through it, so you'll feel comfortable shingling your own roof project. The GAF Timberline shingles come in several different great looking styles. Plus, they're extremely durable!
A couple roofing DIY projects you could try on your home is:
- Indoor or outdoor dog house
- She-shed
- Regular shed
- Chicken coop
- Playhouse for the kids
- Gazebo
Today, I'm going to concentrate on the roofing aspect of the doghouse and will come back later with a tutorial on how I actually built the dog house.

Here's what you'll need to complete a small roofing project:
- Underlayment (I used GAF Feltbuster High-Traction Synthetic Roofing Felt)
- Starter Strip (I used GAF Pro-Start Eave/Rake Starter Strip Shingles)
- Shingles (I used GAF Timberline Natural Shadow Shingles)
- GAF TimberTex Premium Ridge Cap Shingles
- Galvanized steel roofing nails
- 1" – 1 ¼" round plastic cap roofing nail
- Hammer
- Safety googles
- Gloves
- Tape measure

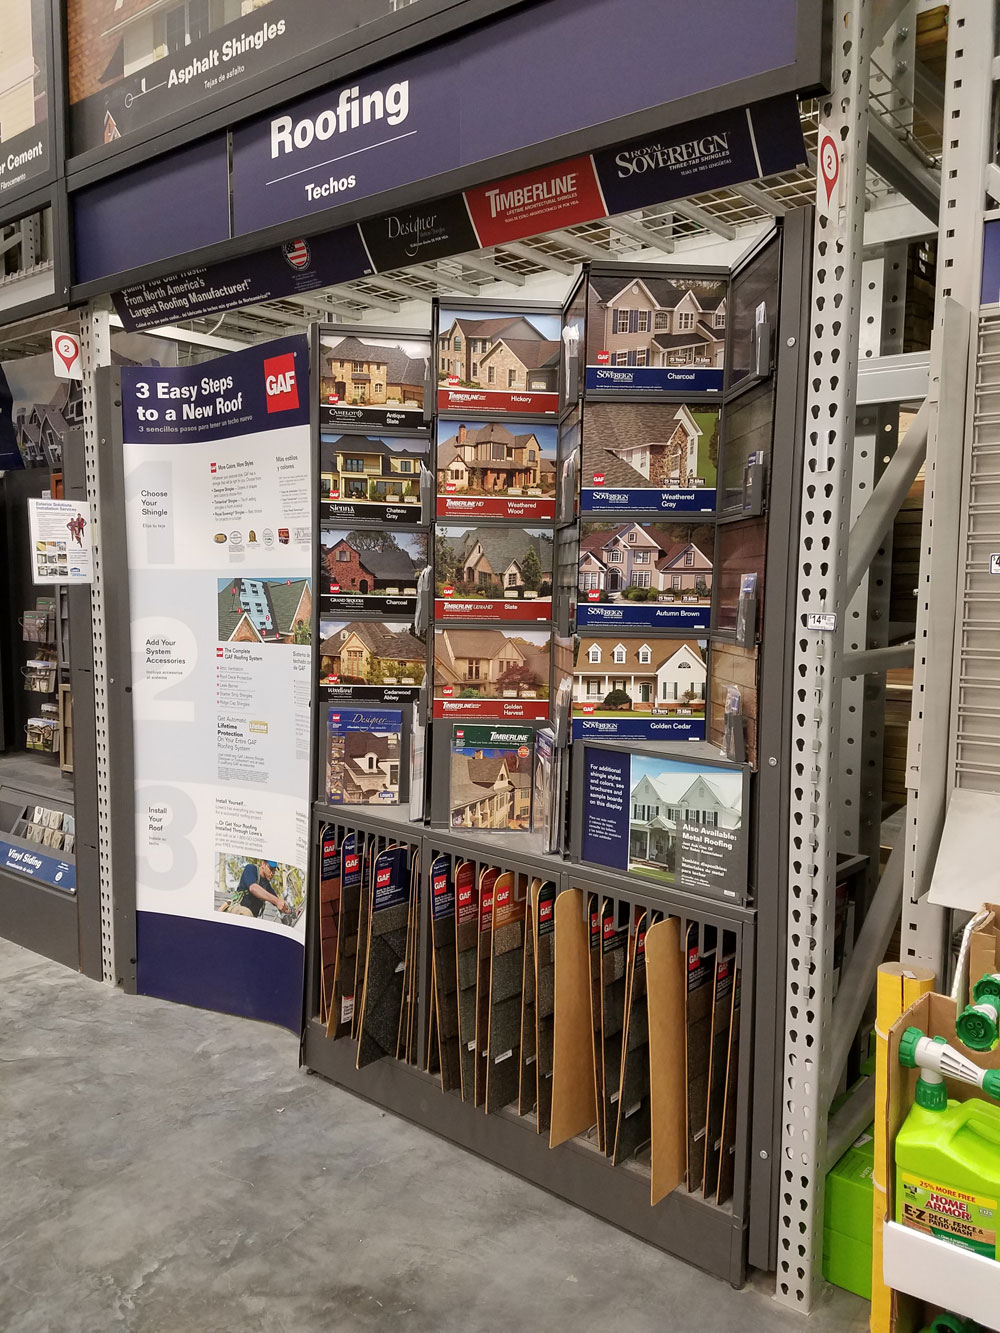
You can find all the product you need at your local Lowe's. It was all conveniently located in the lumbar department. There's a really cool GAF Roofing Center located at the end of one of the aisles, seen as soon as you walking towards the lumbar department. You can get ideas and tips there. Right on the other side of that aisle is all the materials for the roofing project. Which is good for me, because the longer I spend in that store (or any store) looking for stuff, the more time I have to drop items that I don't need into my basket. HEHE!
Now, let me show you how I shingled the roof on Pocahontas' side of the dog house. It was really easy, trust me.

The underlayment goes on first. You want to use your round plastic cap roofing nails to lay this down. Wondering why you can't just use the galvanized steel roofing nails? Especially since I listed it as what you needed to complete the project? My contractor told me that the plastic caps are used on the underlayment, to protect it from tearing. The plastic caps are mostly beneficial when doing large jobs. So, like if weather gets bad while you're roofing and you have to stop while installing the underlayment (or right after), you don't want the pressure of the rain and wind to tear the underlayment apart. Here's a link to a GAF video tutorial on installing the FeltBuster High-Traction Synthetic Roofing Felt underlayment.
After the underlayment, I installed the starter strips. When I was doing my project, I made this seem way harder to understand than it needed to be. It's simple.
Using the GAF Pro-Start Eave/Rake Starter Strip Shingles, you start at the bottom of the roof and install it with your galvanized roofing nails. You'll need to install the starter strip with at least a ¼" – ¾" overhang with the sealant side facing up. Use at least 4 nails on each starter strip. Since my project is so small, I only used one Pro-Start starter strip. I actually had to cut a bit off of that starter strip, because it was too long. Here's a great, more in-depth, video about installing starter strips, with a little more information for doing larger projects.


Now, you're going to lay and install your first shingle flush with your starter strip, making sure to have the same ¼" – ¾" overhang off the roof. For larger projects, you're going to place the second shingle next to the first and continue across the room, but because my project is so small, one shingle was more than enough for the first row. Each shingle requires 4 galvanized roofing nails. When you get to your next row, you're going to trim 6 inches off the first shingle. Place the butt of the shingle at the top of the dragon teeth of the shingle under it. Use full shingles for the rest of that row. On your next row, you cut of 11 inches off the first single and the row after that, you're cutting off 17" off the first shingle. Then, you'll start that next row with a whole shingle and then repeat the series of cuts. So, to reiterate…
1st row – first shingle full sized
2nd row – first shingle cut 6" off
3rd row – first shingle cut 11" off
4th row – first shingle cut 17" off
5th row – first shingle full sized
2nd row – first shingle cut 6" off
Etc.
Here's another GAF video explaining the shingling process. Watch it, it makes this all make sense. And, here's a helpful video showing how to actually nail the shingles. Angled or under-driven nails and "high-roofing" are all terms that you should know, so you can avoid making those mistakes. It's important that you nail your shingles correctly to strengthen the sealant.


The next step would be to install your GAF TimberTex Premium Ridge Cap Shingles, which I ended up not using, because of the way I've constructed the dog house. I didn't have a place to put the TimberTex ridge caps, since I don't have a gable or hip roof. Depending on how extensive your project is, you'll more than likely need the ridge caps to finish off your roofing. They're essential to getting a completed look.

Once the shingling was done, I needed to complete my dog house with some accents and the rooftop garden.
But, really quickly… to backtrack a bit. I know I said I'll share the full tutorial on how I made the dog house in a separate post, but I wanted to share some process pics. I used this maroon-y red and black for the paint colors.
I used raised bed garden soil and planted all my peppers. First, I stapled two contractor garbage bags to contain the soil and water and then, carefully placed my peppers. I have other fruits and veggies (I'll share more in another post), but I decided to do all peppers on top of the dog house. I like being able to go to one location to pick everything I need for my stir frys. I LOVE a good stir fry! (Which is why I got so many different peppers.) Plus, Rilo can't reach them (yet)! Planted now is Big Bertha Bell, red bell peppers, green bell peppers, yellow bell peppers, orange bell peppers, serrano peppers, and a hot and spicy variety.
Once their growing season is over, I'll probably plant some flowers in place of the peppers.
I finished up the dog house with some trim (which I probably should have put on first) and potted flowers attached with stainless steel clamps.


I was so nervous about adding the shingles, because I had never done that before. Now, I'm really glad I went with it, because I'm loving the look. It looks like a little mini house. I'm just hoping my novice construction skills was good enough for building a dog house that'll last throughout the hurricane season. Ain't nobody got time to be building a second dog house after just a few months.
What do you think about my dog house and roofing skills? What kind of project would you use the GAF roofing on?
Till next time,
![]()
Follow me: FACEBOOK INSTAGRAM TWITTER PINTEREST
How to Install Shingles on a Dog House
Source: https://whitneyjdecor.com/2017/05/19/easy-roofing-dog-house-gaf-timberline-shingles/
0 Response to "How to Install Shingles on a Dog House"
Post a Comment